
How to Scribe
Scribing is an important part of your wardrobe installation as it allows the wardrobe to fit seamlessly into your space. Here are the basics on fillers, dividers, and how scribing can help you get a perfect fit for your DIY project.
Scribing is the process of ‘tracing’ the contours of your wall, skirting board or other uneven features.
These odd shapes can then be transferred onto a wood panel such as a filler which – as the name suggests – fills the gap between the straight angles of the wardrobe and the often imperfect lines of the room.
What is a Wardrobe Filler?
A filler in wardrobe installation refers to a narrow strip or panel of material, typically made of a matching board, that is used to fill the gap between the wardrobe and the wall or other obstacles.
Fillers are commonly used in wardrobe installations to ensure a snug and flush fit, especially when the dimensions of the wardrobe do not perfectly match the available space.
Fillers are usually installed on the side or back of the wardrobe, depending on the specific design and installation requirements. They can be cut to size and sanded to match the adjoining finish, providing a neat and professional DIY wardrobe installation.
In some projects, fillers can also be used to create additional storage space by providing support for shelves or hanging rails.
A typical Stegbar wardrobe filler measures 95mm x 16mm, but it's worth noting that the type and size of the filler used in wardrobe installation may vary depending on the specific manufacturer, design, and installation requirements, so we recommend always following the manufacturer's instructions.
Fillet vs Face Fillers
A fillet filler in wardrobe installation is used when there are no obstructions preventing access to the tower unit, and nothing to prevent the drawers from operating. Fillets can be cut to size and sanded to match the finish of the wardrobe, and are typically installed using adhesive, screws or nails. They can also be painted or stained to match the surrounding materials.
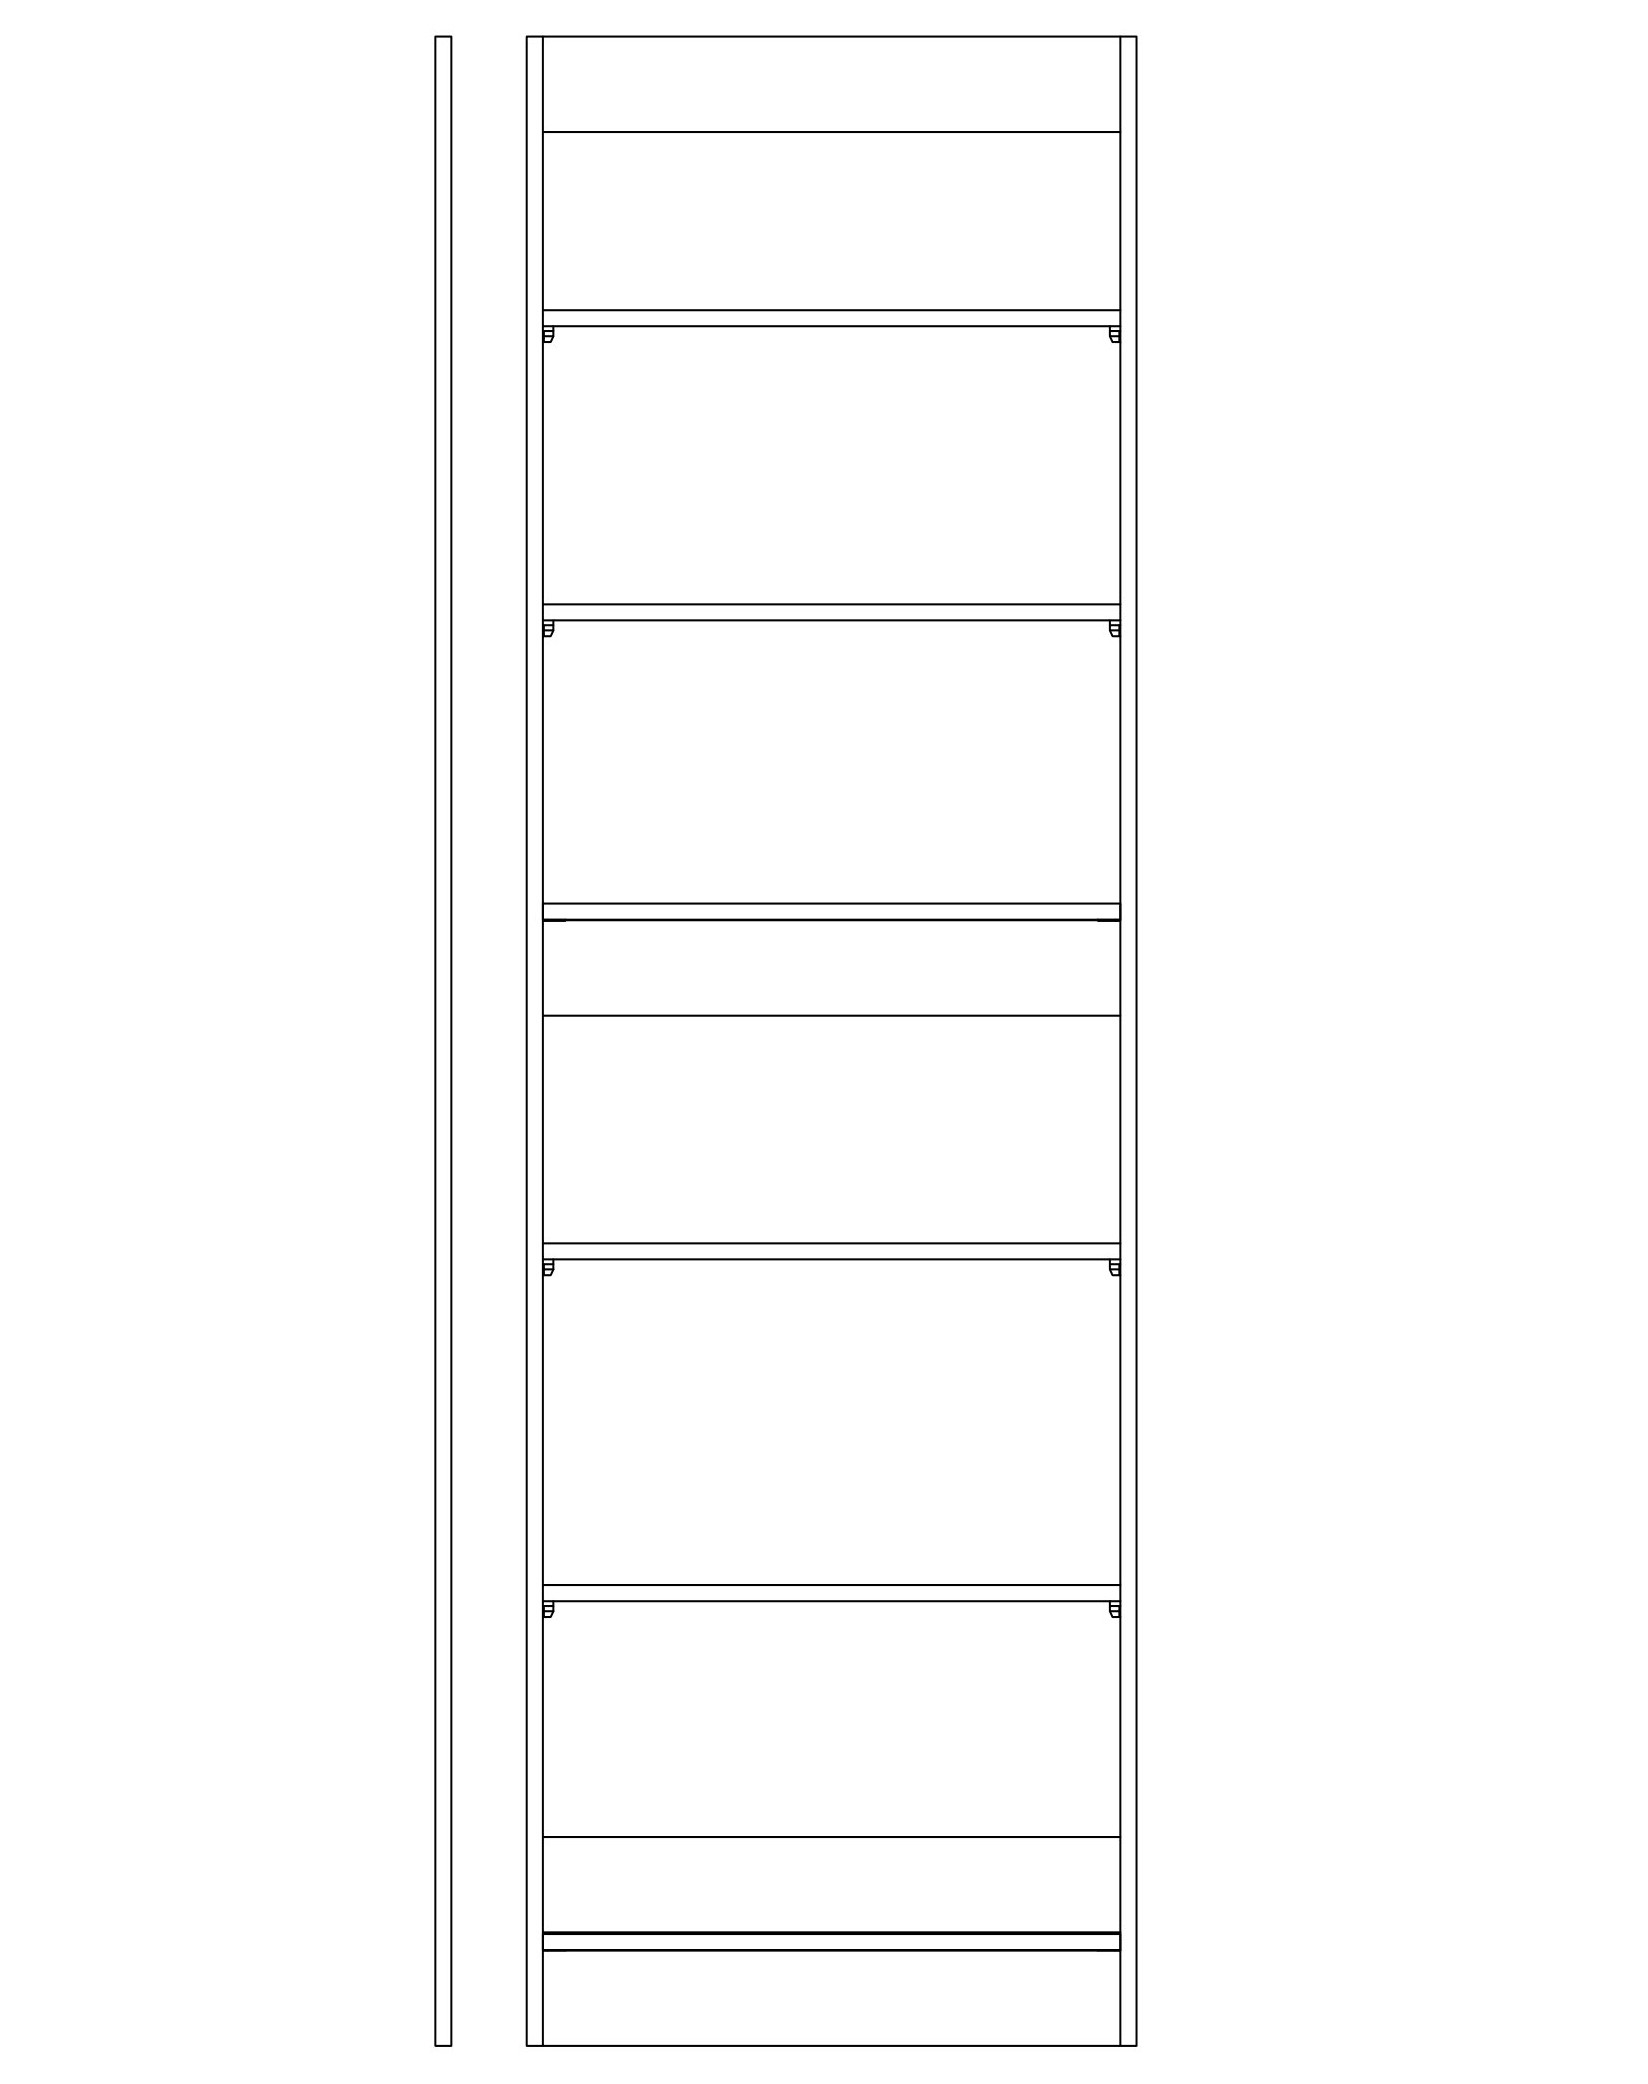
Fillet Filler
A face filler is used when there are obstructions preventing easy access, or obstacles preventing the drawers from operating properly. Almost all drawer tower units are installed using the face filler method.

Face Filler
What is a Wardrobe Divider?
A divider in wardrobe installation refers to a vertical panel or partition that is used to separate and organize the internal storage space of the wardrobe. Dividers are typically made of the same material as the wardrobe, such as wood, and are custom-fitted to the specific dimensions of the wardrobe.
Scribing Wardrobe Fillers and Dividers
When Should I Scribe?
Scribing timber is useful when the irregular surface or gap is too large to be filled with a filler strip, and when you need to achieve a tight and seamless fit.
For example, if you’re installing shelving in a room with an uneven wall or floor, scribing the timber to fit the contours of the wall or floor can ensure that the fixture fits snugly and securely in place with no unsightly gaps.
How to Scribe
What you need:
- Measuring tape
- Pencil
- 2m spirit level or straight edge
- Jigsaw/Planer
- Sandpaper
- Screws
Step 1
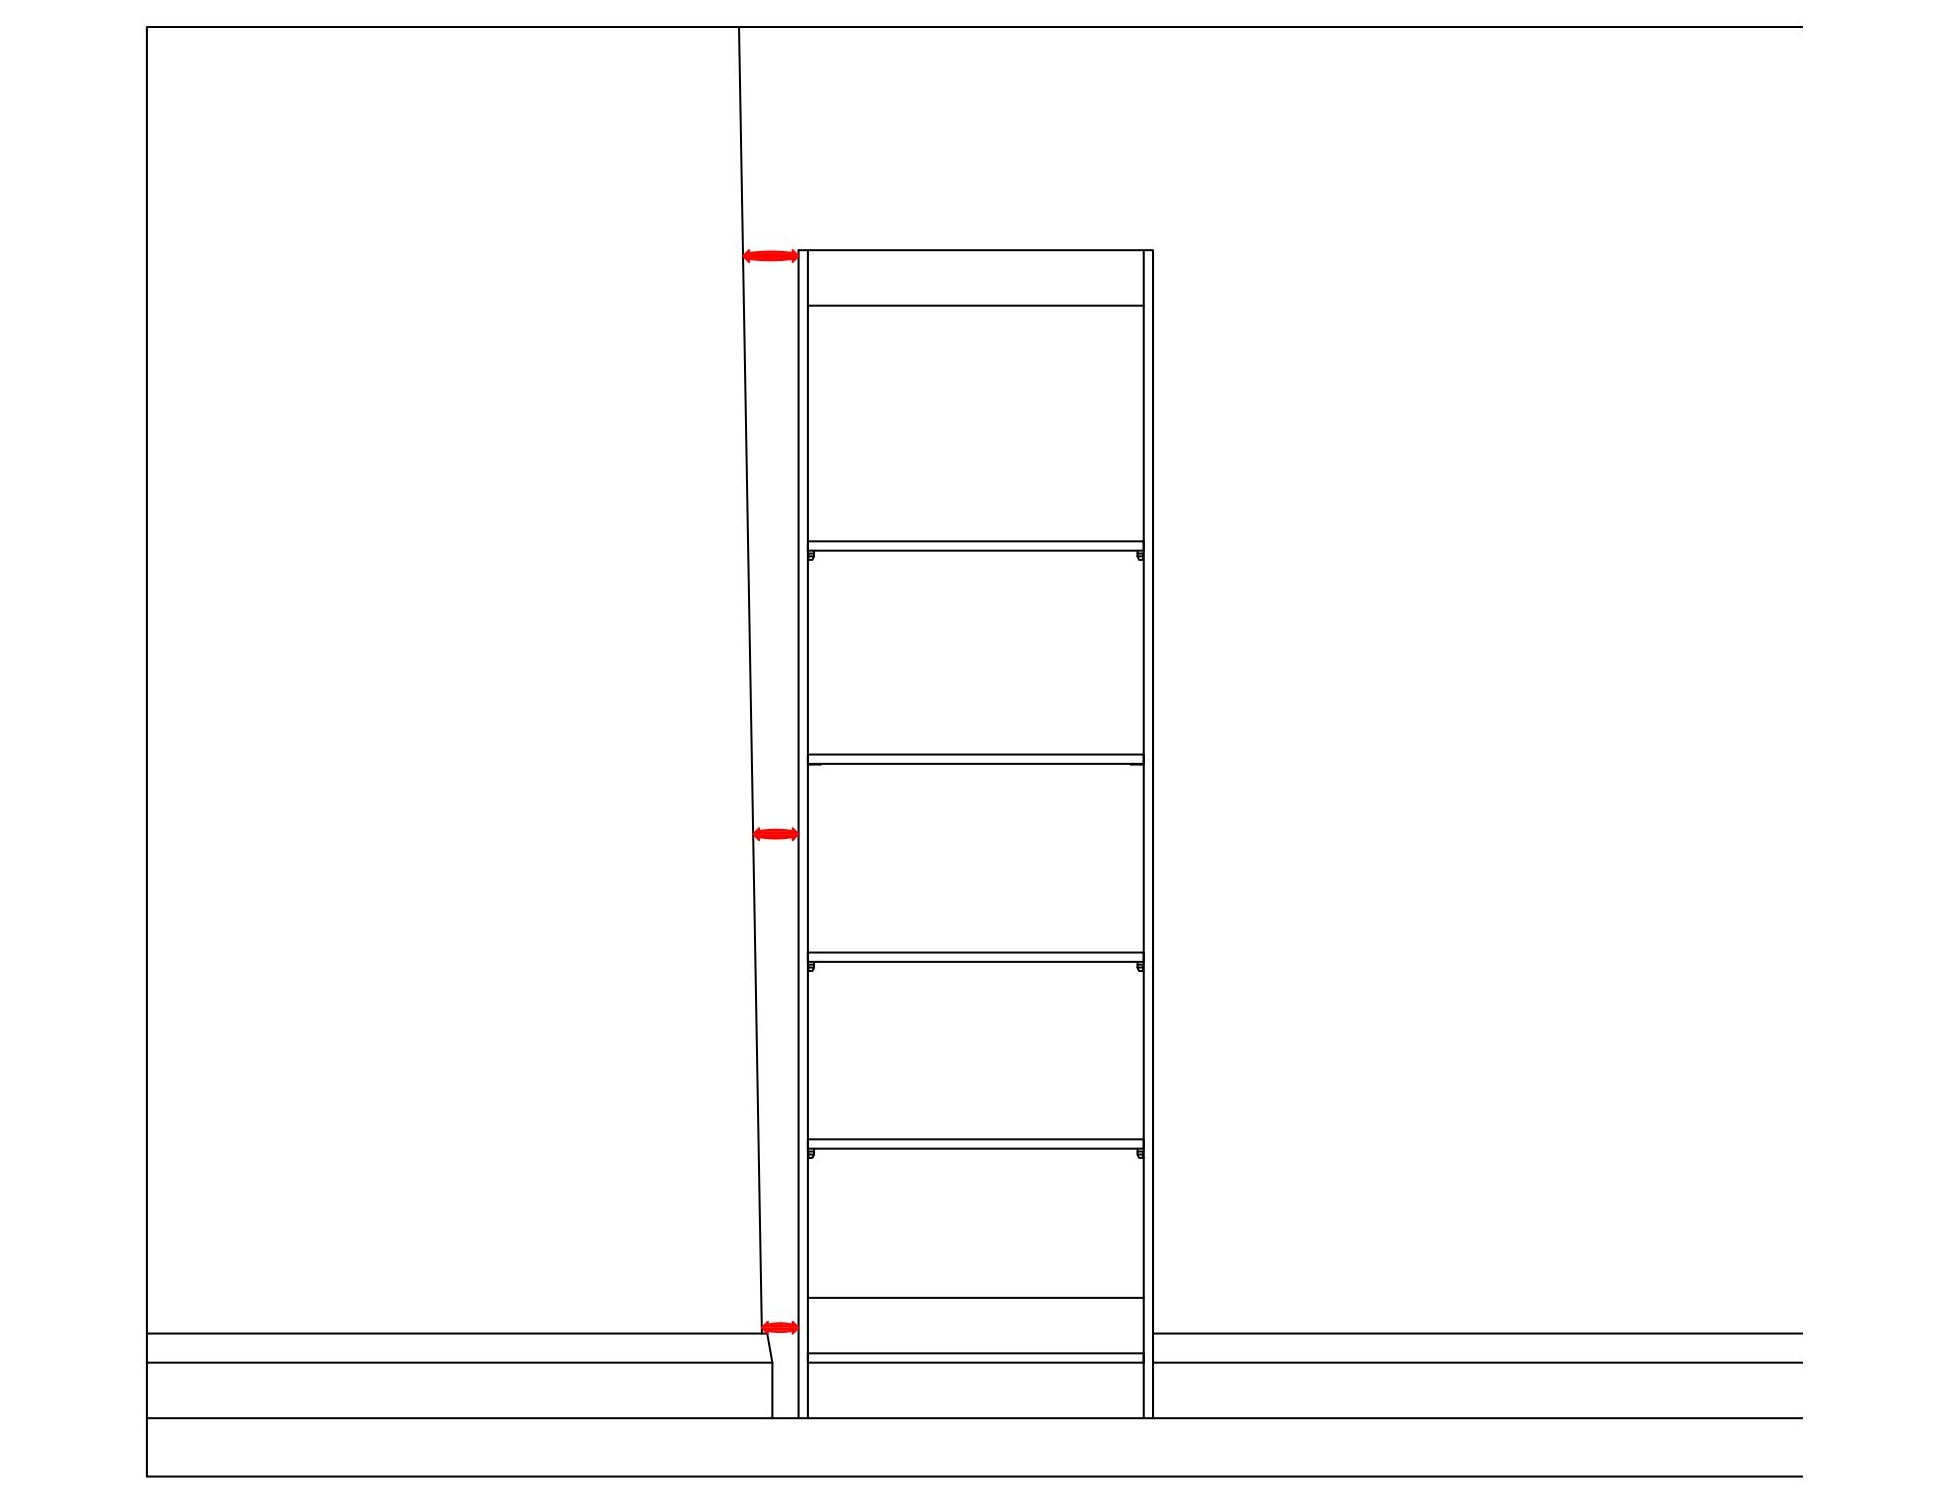
Place your level or straight edge on the wall to determine if the wall is out of plumb. If the wall is greater than 3mm out of plum, scribing is recommended. Measure the gap between the wall and spirit level at its widest point as shown in the diagram below.
Step 2
Determine the tower position within the wardrobe, then place and level the tower in position.
Step 3
Measure the distance between the wall and the tower in 3 spots - the top, middle and bottom as shown in the diagram below.
Step 4
Transcribe these measurements onto your filler and mark them with a pencil. Mark on the filler the area to be removed as shown in the diagram below.
Step 5
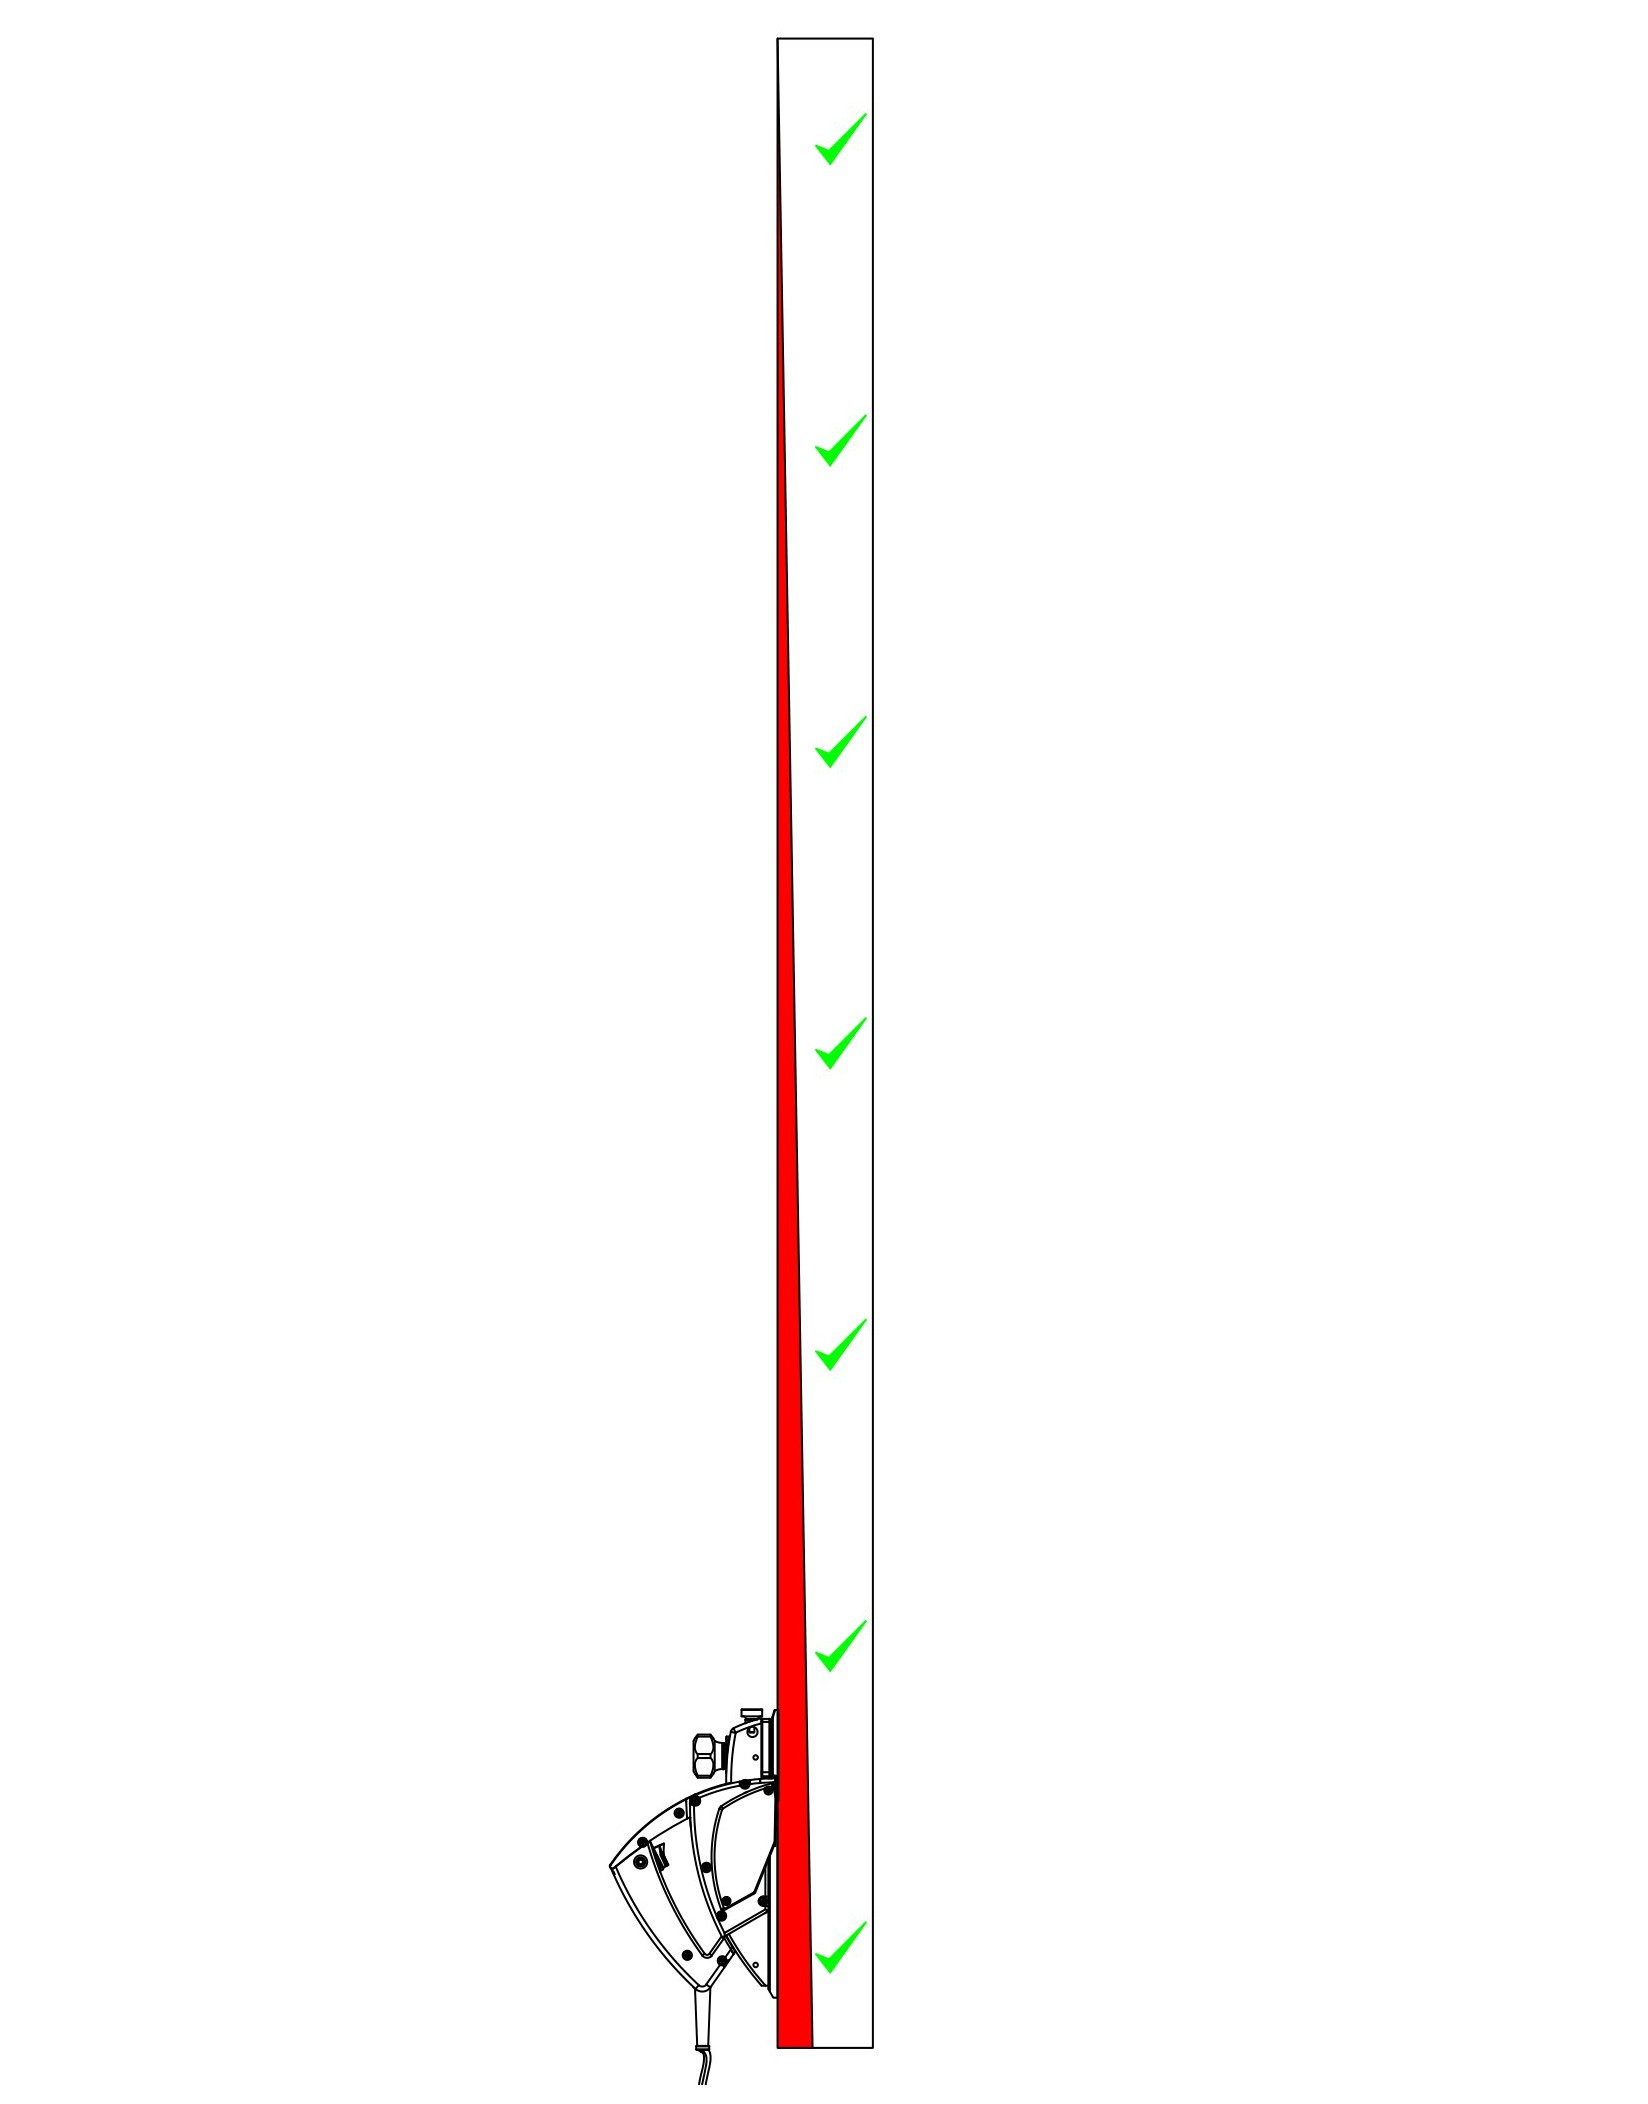
Using a jigsaw, saw or planer, remove the waste along the scribed line on the timber. Then, test the fit of your modified filler to ensure a snug fit. If it doesn’t quite fit, use sandpaper or a plane to shave off any excess timber until it fits perfectly against the wall.
Step 6
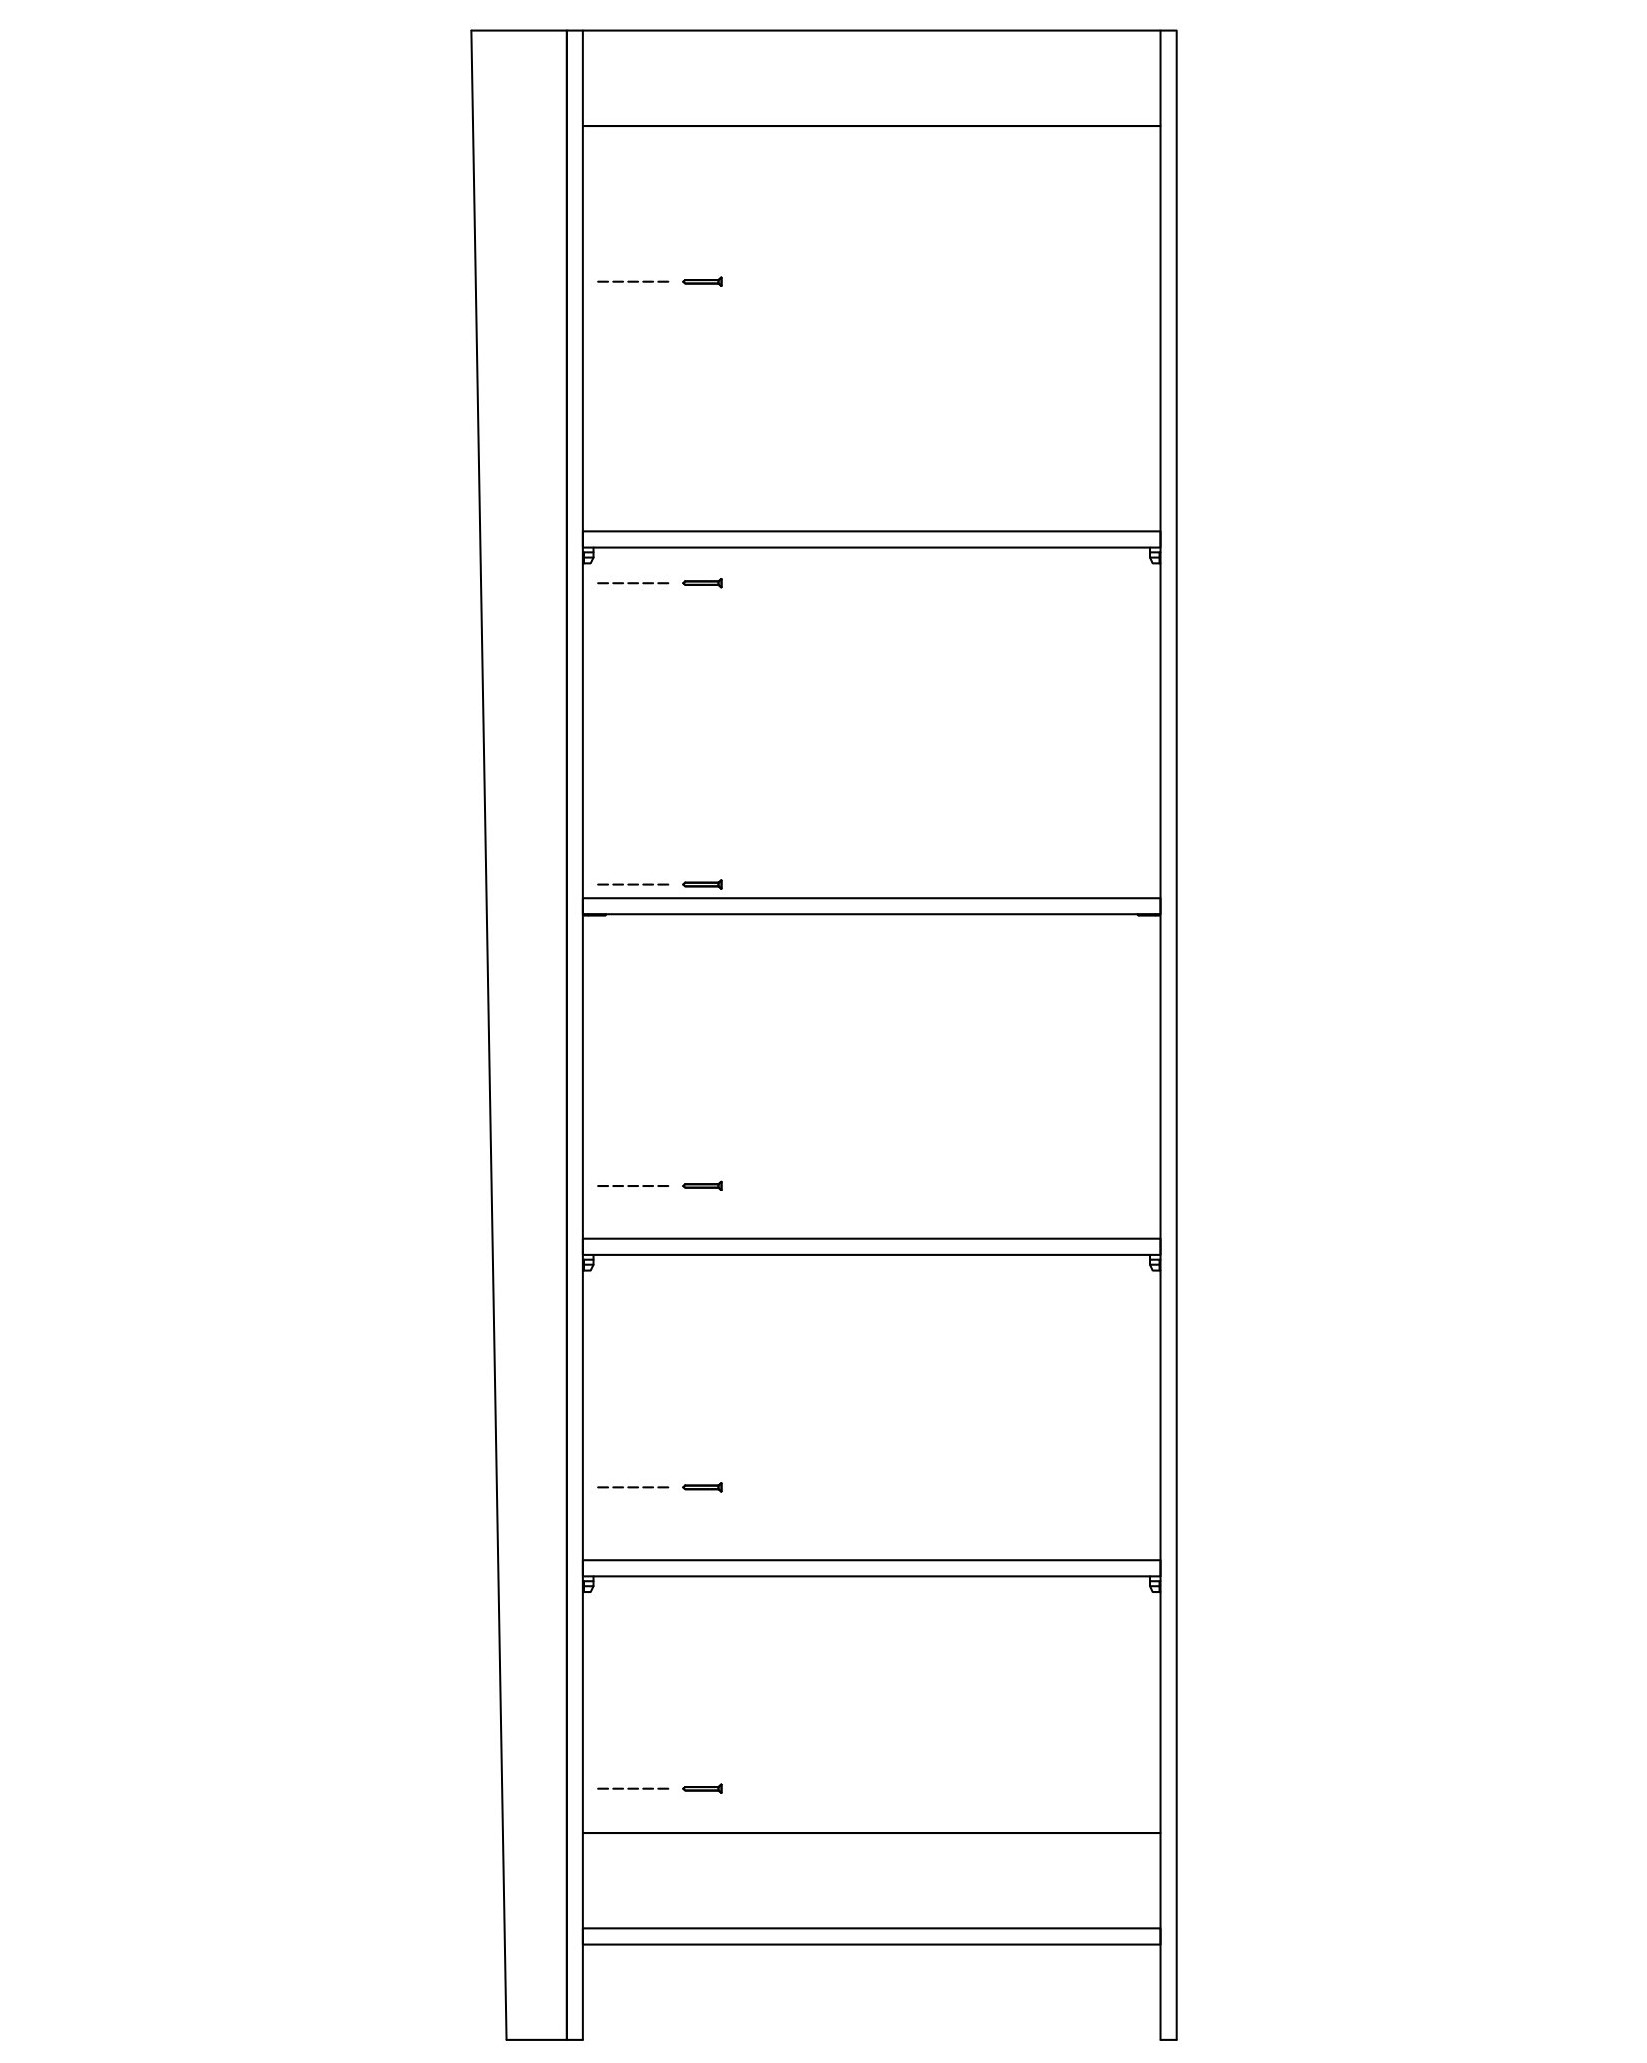
Once the timber fits snugly against the wall, secure it to the tower side using screws.
Scribing can be a challenge, so take your time and double-check your measurements and scribing lines to achieve the best possible fit for your new wardrobe.
More DIY Support from Stegbar
For further information and support on your DIY wardrobe, explore the articles on our support page.
Your Cart
QUOTES
x0No products in the Quote Drawer.
Your Stegbar Quote
item(s)Attach Documents(Plans, Reports, Photos)
Installation
Product Selection Summary
No products in the Quote Drawer.
Your Quote
item(s)Quote submitted
Thank you for your quote request.
We look forward to helping you with your project.
You will receive an email confirming your enquiry number.
A Stegbar team member will contact you within two business days to discuss your project.